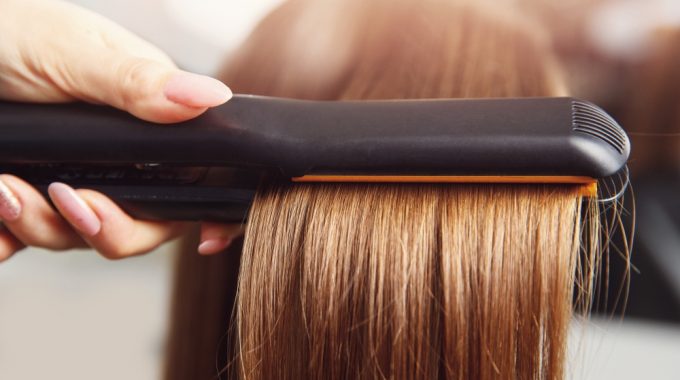
Are you tired of dealing with burnt hair all the time you use a straightener?…

How to Wave Hair with a Straightener?
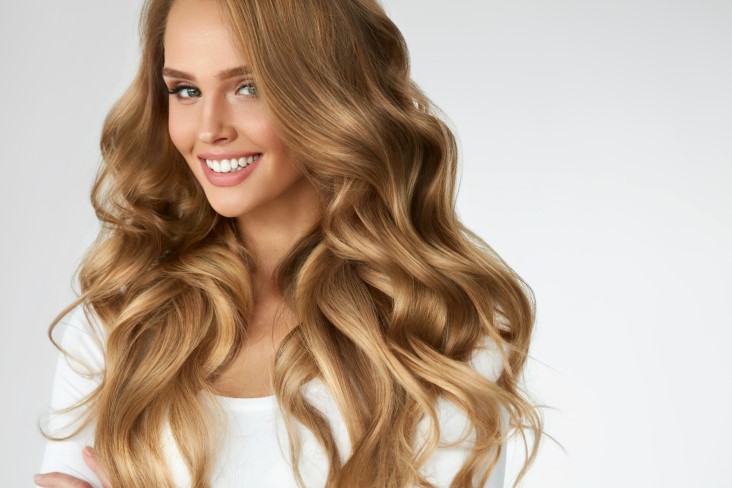
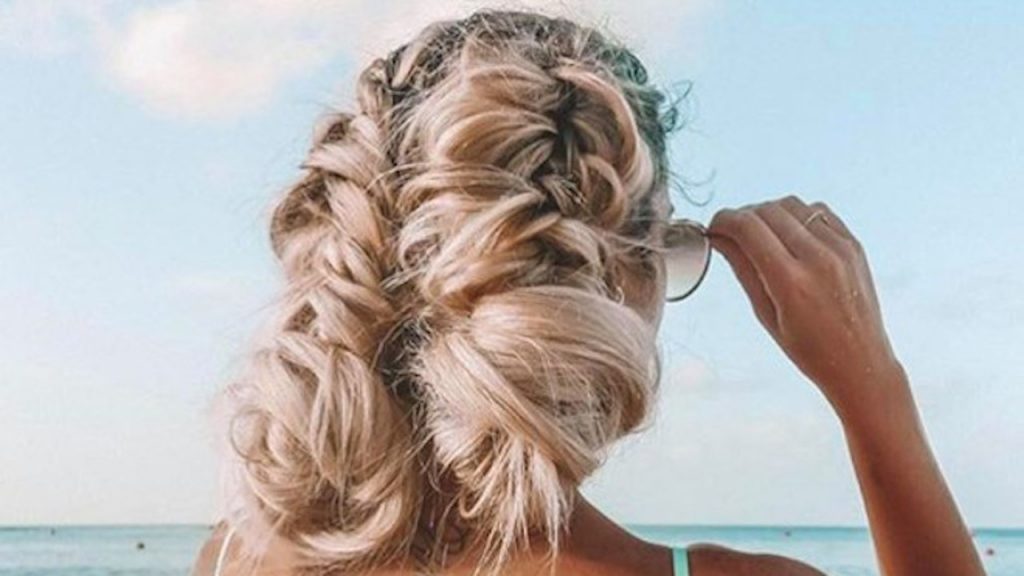
Wavy hair’s timeless allure blends elegance with casual charm, making it a go-to style. But achieving those waves doesn’t require salon trips. Enter the hair straightener – usually for sleek looks, but it’s also a wave-making tool.
Waves transform your look, exuding confidence or a relaxed vibe. The hair straightener, a beauty essential, can be your secret to waves that rival pros’.
This guide unlocks transforming your hair straightener into a wave expert. From techniques to tips, it empowers you to create salon-level waves at home, whether you’re a styling novice or a pro.
Get ready to master waves – soft or bold – for any occasion. Let’s delve into the world of wavy hair and discover your styling power.
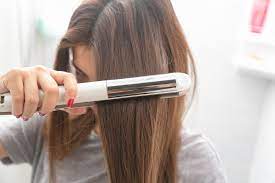
Understanding Your Tools
The right straightener, matched with your hair type and goals, forms the basis for stunning waves. Accessories like clips and gloves make the process smoother.
Types of Hair Straighteners
Hair straighteners come in various materials, each offering distinct benefits:
- Ceramic: Known for even heat distribution, ceramic straighteners are gentle on hair and reduce the risk of hot spots. They work well for finer hair types that require lower heat settings to prevent damage.
- Titanium: Titanium straighteners heat up quickly and maintain high temperatures. They are perfect for thicker hair types that can handle more heat. Just be cautious not to use too much heat on finer hair, as it may cause damage.
- Tourmaline: Tourmaline-infused straighteners emit negative ions that reduce frizz and enhance shine. They are versatile for different hair types, balancing ceramic and titanium options.
Tips For Choosing the Right Hair Straightener For Waving Your Hair
- Fine Hair: Opt for a ceramic or tourmaline straightener offering adjustable heat levels. It prevents excessive heat exposure and minimizes damage.
- Thick Hair: Titanium straighteners offer quick heating and high temperatures, ideal for taming unruly waves.
- Desired Wave Style: Choose a slim-designed straightener with adjustable heat settings for gentle, understated waves. Achieve striking, well-defined waves with an ample-width titanium straightener.
Accessories for a Smooth Process
Sectioning Clips: These handy tools divide your hair into manageable sections, ensuring every strand gets the attention it deserves.
Heat-Resistant Gloves: Styling with a straightener can get hot. Heat-resistant gloves protect your hands while helping you manipulate your hair precisely.
Preparing Your Hair
Before using your straightener, preparation is crucial for achieving beautiful waves. It guarantees clean, nourished hair while safeguarding it from heat damage.
Steps for Hair Preparation
- Hair Washing: Begin with a thorough wash using a shampoo suitable for your hair type. Gently massage your scalp and rinse thoroughly to remove any product buildup or dirt.
- Conditioning: Apply a conditioner to the lengths of your hair, avoiding the roots. Leave it on for a few minutes to hydrate and detangle, then rinse with cool water for added shine.
- Towel-Drying Techniques: After washing, gently squeeze excess water from your hair. Avoid rubbing vigorously, as wet hair is fragile and prone to damage. Use a microfiber towel or an old t-shirt to blot your hair gently, minimizing friction and reducing frizz.
Heat Protectant
Always use a heat protectant before applying heat. This crucial step shields your hair from straightener temperatures. Spray it evenly on damp hair, concentrating on mid-lengths and ends – the most delicate sections.
Adequate hair preparation is vital for successful wave crafting. Clean, conditioned hair with heat protectant ensures great-looking waves and hair health.
These prep steps pave the way for successful wave-making. With hair ready, let’s proceed to prepare for the styling process.
Getting Started with Waving
Creating Hair Sections for Effective Styling
Start by parting your hair down the middle, forming two main sections – left and right. Then, use sectioning clips to divide each side into smaller sections. It guarantees even styling of every strand, leading to consistent, well-defined waves.
Appropriate Heat Setting
Your straightener’s heat setting is crucial for long-lasting waves. Fine hair needs lower temperatures to avoid damage, while thicker hair can handle higher settings. Balancing ensures durable waving without harming your hair’s health.
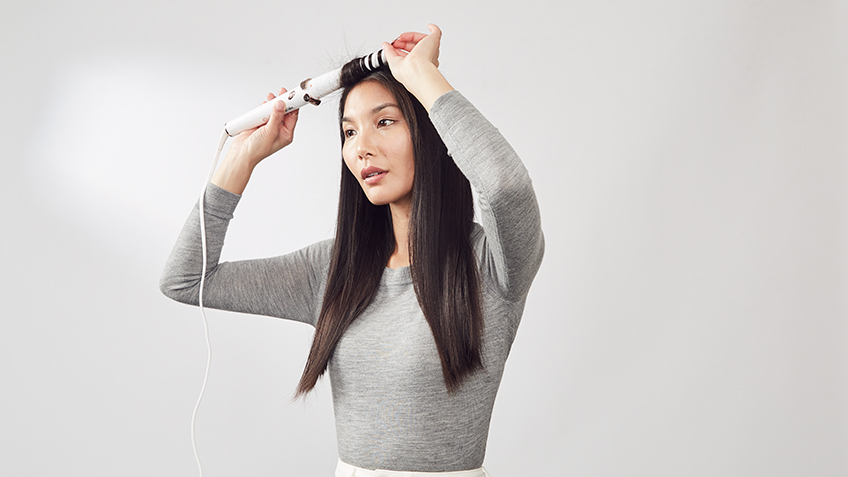
Preheating for Optimal Performance
Before you begin styling, ensure your straightener heats up beforehand. Switch it on and wait for it to attain the preferred temperature. Skipping preheating could lead to uneven waves or necessitate additional passes, raising the potential for hair damage.
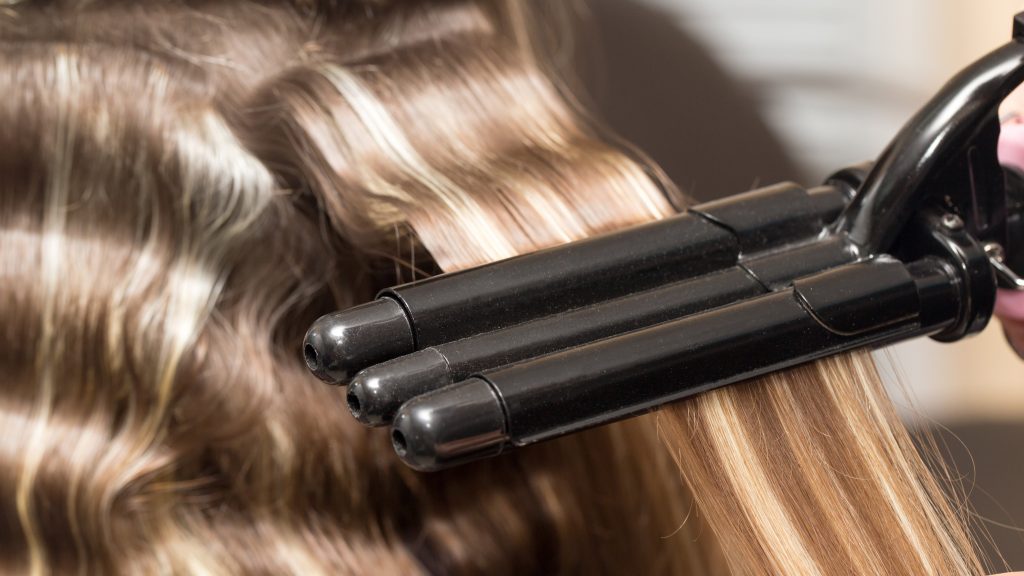
Techniques for Waving Hair
Classic S-Shape Technique for Basic Waves
This technique is the basis of wave creation. Grab a hair section, and place the straightener at the root. Rotate it outward, forming an “S” shape while moving down the hair. It yields elegant, timeless waves that suit any style.
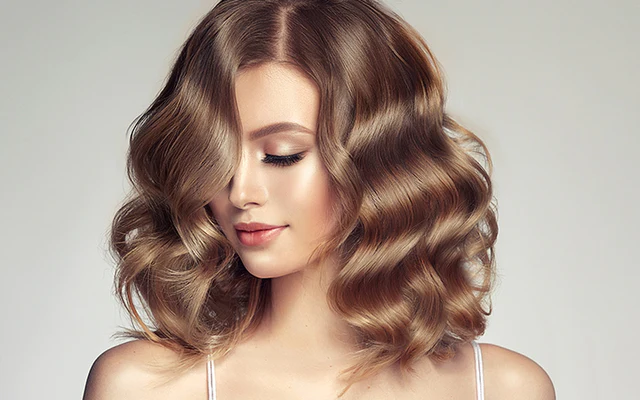
Effortless Beachy Waves for a Relaxed Vibe
Get beachy waves by changing the straightener direction for each section. Secure hair at the root, rotate the straightener one way, then switch to the next. Mimics sun-kissed locks’ waves for a laid-back style.
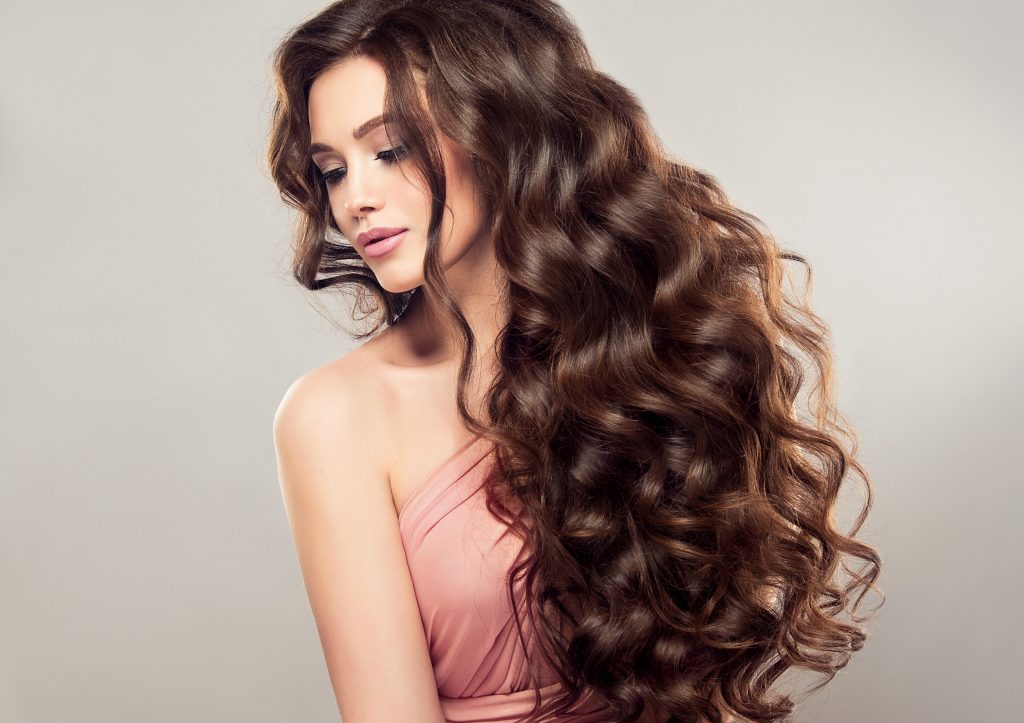
Dramatic Deep Waves for a Bold Look
For striking, defined waves, use the deep wave technique. Press and clamp the straightener close to the root. Glide while forming a pronounced “S” shape. It adds depth and drama, perfect for special occasions or grabbing attention.
Unique Crimped Waves for Enhanced Texture
For a distinctive texture, the crimped wave technique offers a refreshing twist. Clamp a small strand of hair, and slightly twist the straightener as you move down. The result? Delicate crimps add a playful dimension to your waves, giving your hair a unique edge.
These techniques offer limitless possibilities, allowing personalized waves for your style, mood, and event. Apply them to create waves that reflect your uniqueness.
Step-by-Step Waving Process
- Waving the Bottom Layers
- Achieving waves start from the bottom up:
- Sectioning: Begin by separating the bottom layer of your hair. Use your sectioning clips to keep the remaining hair out of the way.
- Prepping a Strand: Take a small section of hair, ensuring it’s not too thick. Comb through it to remove any tangles, ensuring even heat distribution.
- Clamping and Styling: Clamp the straightener near the root of the section. Rotate it to create the desired wave pattern, following one of the previous techniques. Glide the straightener down the hair, holding for a few seconds to set the wave.
- Repeat and Alternate: Continue this process, alternating the direction of your waves for a natural look. As you complete each section, secure the waved strands with sectioning clips.
- Waving the Middle Layers
Moving on to the middle section:
- Sectioning: Divide the middle strand of your hair. Unclip the remaining top layer to keep it apart.
- Adjusting the Angle: As you clamp each section, adjust the angle of the straightener slightly. This variation in angle adds dimension and movement to your waves.
- Creating Uniform Waves: Follow the same technique as before, rotating the straightener and gliding it down the hair. Strive for uniformity, ensuring each wave flows seamlessly into the next.
- Waving the Top Layers
Let’s frame your face and blend those waves:
- Sectioning: Divide the top layer, ensuring having smaller sections near your face.
- Framing Waves: Begin creating waves slightly below the roots to frame your face elegantly. This softens your look and adds a touch of sophistication.
- Blending for a Seamless Finish: Blend these waves with the rest of your hair to avoid harsh lines. Gently run your fingers through the waves to create a harmonious flow.
Follow these steps to achieve waves that match your style and vision. Each layer adds to the result, ensuring stunning and cohesive waves. Creating waves becomes second nature, letting you embrace this transformative style’s power with practice.
Troubleshooting and Tips
Waving your hair might seem straightforward, but sometimes challenges arise. Here are these and their solutions:
Taming Frizz and Flyaways
Frizz and flyaways can sneak into even the most meticulously styled waves. Tackle them with anti-frizz serums. Apply to your palms and gently smooth your hair, focusing on the ends. It tames unruly strands while adding a polished finish to your waves.
Fixing Uneven Waves
Uneven waves can be frustrating, but there’s a fix. If you notice one side’s waves differ from the other, adjust your technique. Pay extra attention to the angle and pressure of the straightener, ensuring consistent styling for balanced results.
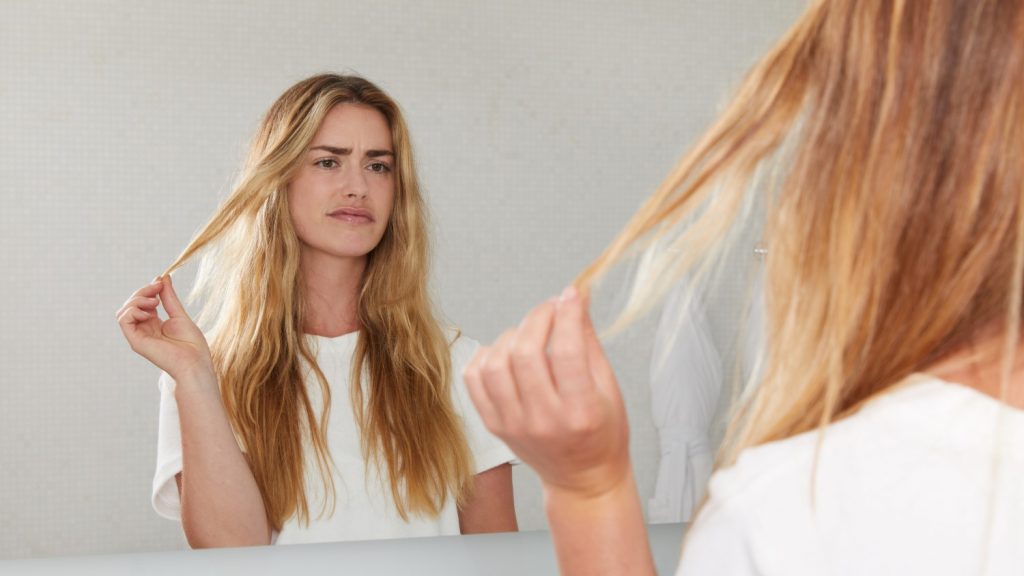
Preventing Heat Damage
Excessive heat can damage your hair, robbing it of its natural luster and health. Prevention starts with proper heat protectant usage. Before styling, apply a protectant to shield your hair from the high temperatures of the straightener. This simple step can save your hair from unnecessary stress.
Finishing Touches
Allowing Waves to Cool for the Perfect Set
After styling, patience becomes your ally. Allow your waves to cool completely before touching them. This cooling period ensures the wave pattern sets in, resulting in waves that hold their shape throughout the day.
Applying a Strong-Hold Hairspray for Lasting Style
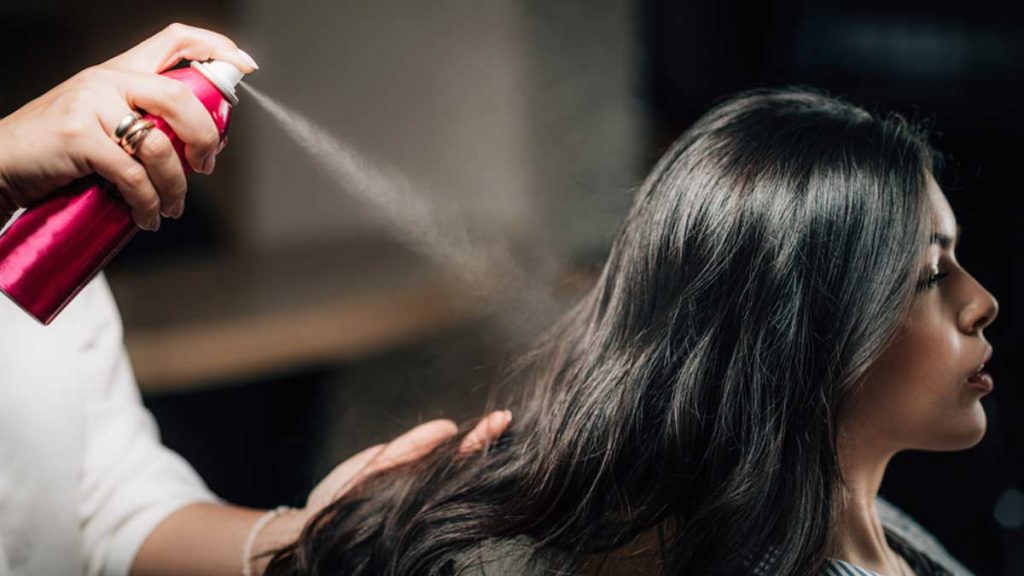
For lasting, gravity-defying waves, use strong-hold hairspray. Hold at arm’s length, mist evenly over waves. This secures and polishes your look.
Optional: Adding a Shine Serum for Extra Luster
For a glossy, radiant finish, try a shine serum. Apply a small amount to wave ends for a healthy shine that catches the light, enhancing allure.

Incorporate these touches to ensure the waves look fantastic and maintain allure all day. Embrace these final steps to see how products elevate waves from stunning to breathtaking.
Hair Care After Waving
Preserving Waves Overnight
For rest, choose silk or satin pillowcases. Unlike cotton, these reduce friction, keeping waves intact while you sleep. Wake up with near-perfect waves as styled.
Steps for Washing and Restyling Waves
- Non-Wash Days: On days you don’t wash your hair, touch up your waves using your straightener. Remember to apply heat protectant before styling to maintain your hair’s health.
- Washing: When it’s time to wash, use a sulfate-free shampoo and a nourishing conditioner. Gently comb your hair with a wide-tooth comb to detangle without disrupting your wave pattern.
- Restyling: After washing, use your straightener to restyle your waves as needed. Apply a heat protectant and follow the same waving techniques you’ve mastered.
Minimizing Excessive Heat Exposure for Hair Health
Give your hair a heat styling break. Maintain its health by reducing heat exposure when not styling. Choose heat-free hairstyles occasionally to aid recovery and preserve natural strength.
Ensure waves remain beautiful and boost confidence by following these post-styling care steps. Remember, balance styling and hair well-being.
Conclusion
In the ever-changing world of hairstyling, using a straightener to create waves offers a path to distinctive style. This guide has covered tool insights, overcoming challenges, mastering methods, and post-care for a complete journey.
Your hair is an extension of you. Waves transform not only appearance but also self-assurance. As you master techniques and tips, remember your power to craft unique waves. Your hair is a canvas; each wave is self-expression.
Related Posts